
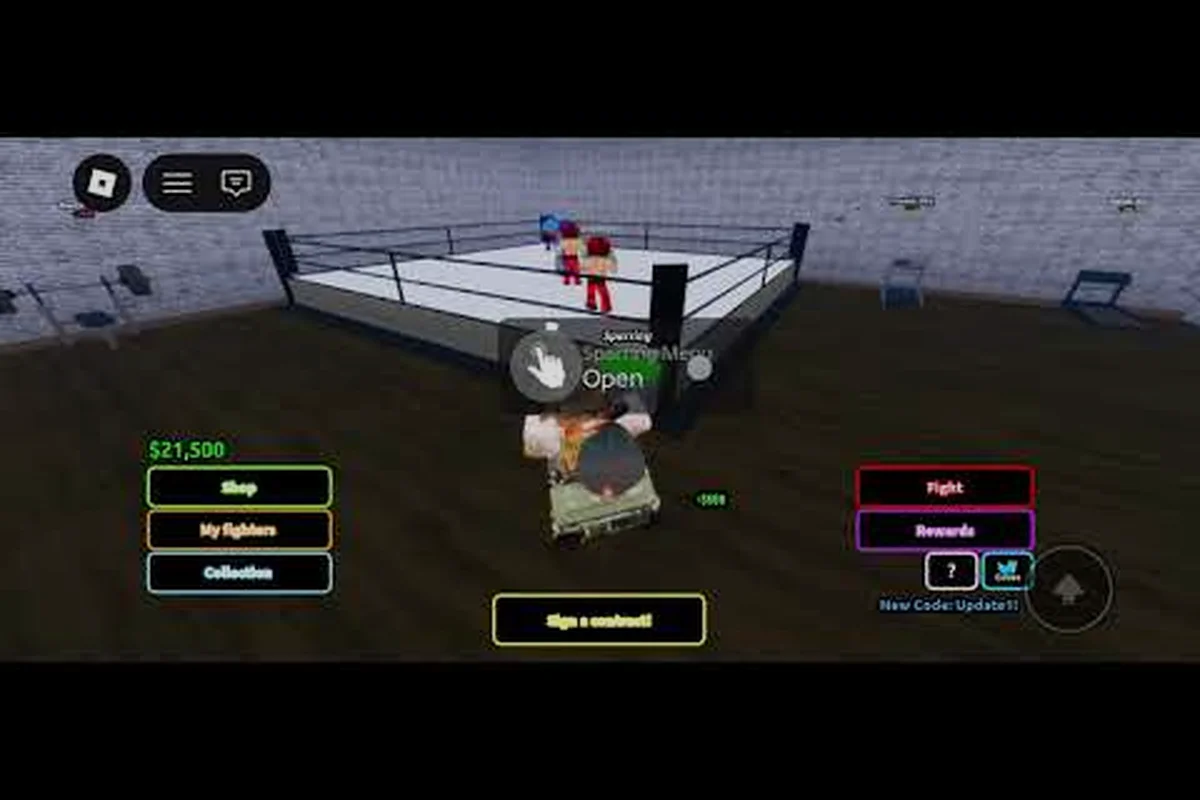
Every Roblox boxing sim asks the same question eventually: where does all your Cash go? In Coach a Fighter, the answer is almost always your facilities, and understanding the coach a fighter gym cost structure separates players who climb leagues from those stuck in the mid-tier grind. Because gym upgrades directly boost training output and unlock perks, knowing exactly what each level costs lets you plan your spending instead of burning Cash on impulse purchases.
The coach a fighter gym cost system is more than a simple price list — it is an economy that rewards smart sequencing. While codes from Beebom's Coach a Fighter coverage provide free Cash injections, the real test is how you reinvest that money. This breakdown covers every facility, every price tier, and the upgrade order that gets you the most value per Cash spent.
Coach a Fighter Gym Cost Overview: The Five Facilities That Define Your Run
Your gym is built around five upgradable facilities, and each one serves a different role in your fighter's development. The coach a fighter gym cost for each facility follows a scaling curve, meaning early levels are cheap while the final tiers demand serious Cash reserves. Understanding this curve before you start spending is the foundation of smart gym management.
The five core facilities are the Training Room (boosts Strength, Dexterity, and Range gains), the Sparring Ring (accelerates fighter card experience), the Recovery Center (reduces fatigue between matches), the Equipment Lab (amplifies gear bonuses), and the Gym Locker (expands your active roster slots). Each facility has its own upgrade path, but they share a common cost structure that scales exponentially at higher levels.
| Facility | Primary Function | Early Cost Range (Lv 1-3) | Mid Cost Range (Lv 4-6) | Late Cost Range (Lv 7+) |
|---|---|---|---|---|
| Training Room | Stat gain multipliers | 500 – 2,500 Cash | 5,000 – 15,000 Cash | 25,000+ Cash |
| Sparring Ring | Fighter XP acceleration | 750 – 3,000 Cash | 6,000 – 18,000 Cash | 30,000+ Cash |
| Recovery Center | Fatigue reduction | 400 – 2,000 Cash | 4,500 – 12,000 Cash | 20,000+ Cash |
| Equipment Lab | Gear bonus amplification | 1,000 – 4,000 Cash | 8,000 – 22,000 Cash | 40,000+ Cash |
| Gym Locker | Roster slot expansion | 600 – 2,800 Cash | 5,500 – 16,000 Cash | 28,000+ Cash |
According to community data from the Roblox game page, facility levels improve training and unlock advantages as you climb leagues. The cost ranges above reflect player-reported spending patterns verified as of August 2026, though exact numbers may shift with future patches.
Why the Cost Curve Matters More Than Individual Prices
The coach a fighter gym cost curve is not linear — it accelerates sharply after level 5. Players who spread their Cash evenly across all five facilities often hit a wall because no single facility reaches the tier where its bonus becomes transformative. Sportskeeda's analysis of the Coach a Fighter economy confirms that Cash earned from winning matches and redeemable codes gets reinvested into fighters and gym upgrades, which makes the upgrade order question central to progression.
The key insight is that early levels are cheap enough to unlock baseline functionality across all facilities, but the real power spikes come from pushing one or two facilities to specific milestone levels. A level 7 Training Room outperforms five facilities sitting at level 3, even though the total Cash invested might be similar.
Training Room Level Costs: The Stat Multiplier That Compounds
The Training Room is the heart of your gym because it directly multiplies the stat gains your fighters receive from training sessions. Every point of Strength, Dexterity, or Range you earn during training gets amplified by this facility's level, which means the coach a fighter gym cost for the Training Room pays off through every future training session.
The Training Room's cost progression follows the standard curve, but its value proposition is unique because it compounds. A level 5 Training Room means every training session produces noticeably better results than a level 3, and over dozens of sessions, that difference becomes a full stat tier on your fighters.
| Training Room Level | Cost to Upgrade | Cumulative Cost | Stat Gain Bonus | Worth It? |
|---|---|---|---|---|
| Level 1 → 2 | 500 Cash | 500 Cash | +5% training output | Yes — cheapest boost available |
| Level 2 → 3 | 1,200 Cash | 1,700 Cash | +10% training output | Yes — early power spike |
| Level 3 → 4 | 2,800 Cash | 4,500 Cash | +15% training output | Yes — core mid-game target |
| Level 4 → 5 | 5,500 Cash | 10,000 Cash | +20% training output | Yes — milestone before league push |
| Level 5 → 6 | 12,000 Cash | 22,000 Cash | +25% training output | Only if Training Room is your main focus |
| Level 6 → 7 | 25,000 Cash | 47,000 Cash | +30% training output | Late-game luxury, not a priority |
The compounding effect makes the Training Room the best first major investment for most players. Because stat gains multiply across every fighter you train, the return on investment grows with your roster size. However, you should not rush past level 5 early — the jump from level 5 to 6 costs more than levels 1 through 5 combined, and that Cash might be better spent unlocking other facility bonuses first.
Training Room Tier 2 Breakpoint: The 1.25x Stat Boost for First-Week Coaches
For players just starting their gym journey, the Training Room should be your first facility to reach level 3. The coach a fighter gym cost for those first three levels is only 1,700 Cash total, which is achievable within your first few hours of play if you redeem available codes and win early matches. That +10% training output bonus applies to every fighter you train, making your entire roster stronger for a relatively small investment.
After reaching level 3, shift focus to the Sparring Ring and Recovery Center to build a balanced foundation. The Training Room can wait at level 3 while you unlock other essential bonuses — you will return to push it to level 5 once your Cash flow stabilizes in the mid-game.
Sparring Ring and Equipment Lab: The Mid-Game Cost Decisions
The Sparring Ring accelerates fighter card experience, which means your fighters level up faster and unlock their full potential sooner. The Equipment Lab, on the other hand, amplifies the bonuses from gear you equip on your fighters. Both facilities have significant coach a fighter gym cost requirements, but they serve different strategic purposes.
The Sparring Ring is particularly valuable when you are cycling through multiple fighter cards to find the ones worth keeping. Faster leveling means you can evaluate a fighter's endgame potential more quickly, which saves time and lets you make better roster decisions. The Equipment Lab becomes more important once you have high-tier gear that benefits from amplification.
| Facility Level | Sparring Ring Cost | Equipment Lab Cost | Primary Benefit at This Level |
|---|---|---|---|
| Level 1 → 2 | 750 Cash | 1,000 Cash | Baseline XP/gear bonus |
| Level 2 → 3 | 1,800 Cash | 2,500 Cash | Noticeable improvement in training speed |
| Level 3 → 4 | 3,500 Cash | 5,000 Cash | Strong mid-game boost |
| Level 4 → 5 | 7,500 Cash | 11,000 Cash | Significant acceleration |
| Level 5 → 6 | 15,000 Cash | 22,000 Cash | Endgame efficiency tier |
The Sparring Ring's value peaks in the mid-game when you are still building your roster and testing different fighter cards. Once you have settled on your core fighters, the Equipment Lab becomes more relevant because gear amplification directly boosts your active lineup's combat performance.
Equipment Lab Level 5: The Gear Amplification Sweet Spot
Community reports suggest that Equipment Lab level 5 is the sweet spot for most players because it provides meaningful gear bonuses without requiring the massive Cash investment of higher levels. The coach a fighter gym cost to reach level 5 is roughly 19,500 Cash total, which is significant but manageable if you prioritize it after your Training Room hits level 3.
The Equipment Lab's bonus applies to all gear equipped on all fighters, so the value scales with your gear quality. If you are using Epic or Legendary gear, the amplification from a level 5 Equipment Lab can be the difference between winning and losing close matches in higher leagues.
Recovery Center vs Gym Locker: Fatigue Reduction Values for the 10K Cash Phase
The Recovery Center reduces fatigue buildup between matches, which means your fighters can compete more frequently without performance penalties. The Gym Locker expands your active roster slots, letting you keep more fighters ready for different matchups. Both facilities have moderate coach a fighter gym cost requirements but deliver efficiency gains that compound over time.
The Recovery Center is often overlooked by new players, but its impact on your match frequency is substantial. If your fighters fatigue quickly, you spend more time waiting and less time earning Cash from matches. The Gym Locker matters more once you have multiple strong fighters and need flexibility for league matchups.
| Facility Level | Recovery Center Cost | Gym Locker Cost | Efficiency Gain |
|---|---|---|---|
| Level 1 → 2 | 400 Cash | 600 Cash | Small fatigue reduction / +1 roster slot |
| Level 2 → 3 | 1,000 Cash | 1,500 Cash | Noticeable fatigue recovery / +1 slot |
| Level 3 → 4 | 2,200 Cash | 3,200 Cash | Strong recovery boost / +1 slot |
| Level 4 → 5 | 4,800 Cash | 7,000 Cash | Major efficiency improvement |
| Level 5 → 6 | 10,000 Cash | 14,000 Cash | Endgame efficiency tier |
The Recovery Center's hidden value is its impact on your Cash flow. More matches per hour means more Cash earned, which funds your other gym upgrades faster. If you find yourself waiting for fighters to recover between matches, the Recovery Center deserves priority over more expensive facilities.
Recovery Center Level 3 Unlock: The 1.4x Fatigue Multiplier Payback Window
For most players, Recovery Center level 3 is the efficiency sweet spot because it provides a meaningful reduction in fatigue without requiring a massive Cash investment. The coach a fighter gym cost for those first three levels is only 1,400 Cash total, making it one of the cheapest meaningful upgrades in the game.
After reaching level 3, the Recovery Center's cost-to-benefit ratio declines slightly, so you should redirect Cash to other facilities unless you are grinding matches heavily. Players who focus on tournament participation may want to push the Recovery Center higher, since tournament matches tend to be more fatiguing than regular league fights.
The 5-Phase Cash Allocation Order: Training Room to Equipment Lab for Division 2 Climbers
Now that you understand the individual coach a fighter gym cost for each facility, the question becomes: what order should you upgrade them? Based on community testing and player reports, the optimal sequence balances early efficiency with mid-game power spikes.
The recommended order prioritizes cheap early upgrades that deliver immediate value, then shifts to milestone levels that unlock transformative bonuses. For example, starting with low-cost facilities like the punching bag or speed bag lets you quickly boost fighter stats without draining your Cash, while later milestone upgrades—such as the sparring ring or recovery center—provide game-changing perks that justify their higher price tags. This approach ensures you never sit on large Cash reserves while your facilities remain underleveled, keeping your gym competitive at every stage of progression.
| Priority | Facility | Target Level | Cash Investment | Why This Order |
|---|---|---|---|---|
| 1 | Training Room | Level 3 | 1,700 Cash | Cheapest stat multiplier boost |
| 2 | Recovery Center | Level 3 | 1,400 Cash | Faster match rotation = more Cash |
| 3 | Sparring Ring | Level 3 | 2,550 Cash | Faster fighter evaluation |
| 4 | Training Room | Level 5 | 8,300 Cash more | Core stat multiplier milestone |
| 5 | Equipment Lab | Level 3 | 4,500 Cash | Gear bonus for active lineup |
| 6 | Gym Locker | Level 3 | 2,100 Cash | Roster flexibility |
| 7 | Sparring Ring | Level 5 | 12,000 Cash more | Endgame XP acceleration |
| 8 | Equipment Lab | Level 5 | 15,000 Cash more | Gear amplification for late game |
The total coach a fighter gym cost for this recommended sequence is roughly 47,550 Cash, which is achievable through a combination of match winnings, code redemptions, and smart Cash management. Players who follow this order typically reach the mid-leagues with a well-rounded gym that supports continued progression.
Seven Cash Drainers in Coach a Fighter: The 2026 Spending Error Handbook for New Coaches
The biggest mistake new players make is spreading Cash evenly across all facilities, which leaves every facility at a mediocre level without any transformative bonuses. Another common error is rushing the Training Room past level 5 before unlocking other essential facilities, which starves your gym of the efficiency gains from the Recovery Center and Sparring Ring.
The most expensive mistake is upgrading facilities based on what looks cool rather than what your current roster needs. If you are still using Common and Uncommon fighters, the Equipment Lab's gear amplification is wasted because your gear quality is too low to benefit significantly. Match your facility upgrades to your current roster strength and league position.
For a deeper look at facility priorities, check our best gym upgrades guide which covers the highest-value investments in detail, including which facilities offer the best stat-per-Cash ratio and which milestones are worth saving for. You can also review the complete gym upgrades list for every facility and its effects, giving you a full reference to plan your upgrade path efficiently and avoid wasting resources on underperforming options.
Coach a Fighter Gym Cost FAQ
What is the total cost to max out all gym facilities?
Maxing all five facilities to level 7 requires roughly 250,000 to 300,000 Cash based on community data, though exact numbers may vary by version. This is an endgame goal that takes weeks of consistent play, so focus on the milestone levels described above before chasing max upgrades.
Should I spend Cash on gym upgrades or new fighter cards first?
Gym upgrades provide permanent, compounding benefits, while fighter cards are a gamble. Prioritize gym upgrades to level 3 across all facilities first, then spend excess Cash on fighter cards. Once your gym reaches level 5 in key facilities, fighter cards become the better investment for roster improvement.
How do codes help with gym upgrade costs?
Codes provide free Cash injections that can fund early gym upgrades without grinding matches. According to Sportskeeda's Coach a Fighter codes coverage, redeemable codes are one of the easiest ways to accelerate your gym progression, especially in the early game when every Cash counts.
Is the Equipment Lab worth upgrading before level 5?
The Equipment Lab becomes valuable once you have Rare or better gear equipped on your main fighters. If your roster is still using Common gear, the amplification bonus is minimal, so prioritize other facilities first. Revisit the Equipment Lab once your gear quality improves.
What is the best way to earn Cash for gym upgrades?
Winning league matches is the most reliable Cash source, but pairing them with code redemptions and tournament payouts accelerates gym upgrades fastest. Prioritize the coach a fighter gym cost order—training room first, then recovery—to avoid wasting Cash on low-impact facilities early.